A window unit AC can be an ideal solution for rentals, older homes without ductwork, or as temporary relief while awaiting traditional AC repairs. That’s why many homeowners in the Chicago area utilize them in the summer heat. Luckily, window air conditioner installation is fairly simple and doesn’t need to be done by a pro, making it a fast and efficient way to get the cooling you need.
In this article, the HVAC experts at Blue Frost Heating & Cooling provide a step-by-step guide for window AC installation to help homeowners improve their comfort quickly and affordably.
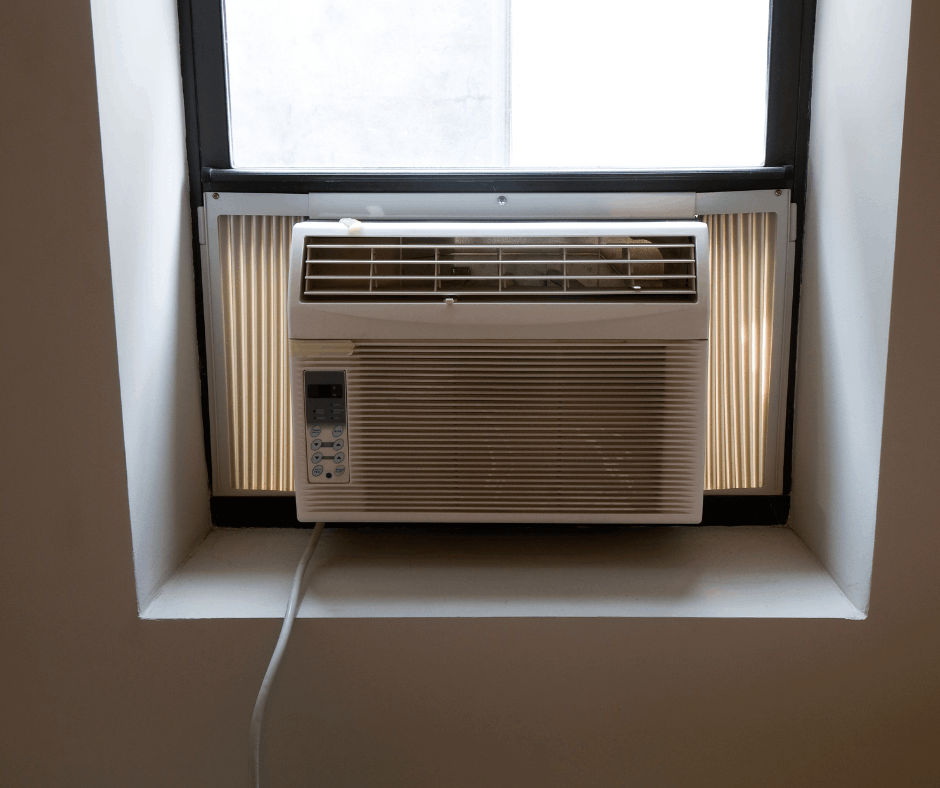
What is a Window Unit AC?
A window AC unit is a single unit that can cool individual rooms and spaces in your home. The self-contained system is installed directly in a window frame and uses refrigerant to draw heat out of any space and release it outdoors.
How To Install A Window AC Unit
Before you install a window unit AC, read the manufacturer’s instructions and ensure that you take any necessary safety precautions and review any local building codes. Then, follow this window AC installation guide.
Tools & Materials You’ll Need
The tools needed for installation can be found at any local hardware store and include the following:
- Screwdriver
- Measuring tape
- Level
- Insulation strips
- Scissor or utility knife
- Drill
Step 1 – Open and Prep the Window
Before installation, you’ll need to prep your window. Open it fully and clean the sill and frame to remove dirt and debris. Confirm your system has the correct measurements to fit the opening and then install the provided support brackets to hold the weight of the AC.
Step 2 – Attach Side Panels to the Unit
Your window AC likely has accordion-style side panels that slide into the grooves on each side of the unit and can be screwed into place. Make sure to attach these before placing the system into the open window.
Step 3 – Place the AC Unit in the Window
With the help of another person, lift the AC unit and position it on the windowsill. You’ll need to ensure that the bottom lip is inside the window and that the exhaust sticks out the back. Once the system is centered in the window frame, tilt it slightly downward towards the outside to allow for proper drainage.
Step 4 – Lower the Window Sash
While the window sash doesn’t support the AC system, it does help to hold it in place. Lower it until it rests behind the top lip on the AC unit.
Step 5 – Secure the Unit and Seal the Gaps
Secure the system with mounting brackets on the top and sides of the system, and screw the side panels into the window frame. Then, seal any gaps with foam insulation strips or weather stripping to prevent drafts or insects.
Call Blue Frost for AC Services Today
If your window AC system isn’t providing sufficient cooling, call the team at Blue Frost for comprehensive AC services including installation. For over 50 years, we’ve been West Chicago’s premier HVAC company, known for providing the personalized care that only a family-owned and -operated business can. Our trained technicians offer free estimates and are fully licensed, insured, and bonded. Plus, our award-winning service means you’ll always get the best care.
Contact Blue Frost today to schedule AC services in West Chicago.